I am Groot!


Hello there! If you've seen the Guardians of the Galaxy, then you'll know that one of the cutest things in existence is the dancing baby Groot at the end. When one of my friends mentioned that she would love her own Groot plushie, I started to search the internets for tutorials on how to make one. And while there are many wonderful crochet (and cupcake!) versions out there, there were no plushie patterns to be found.
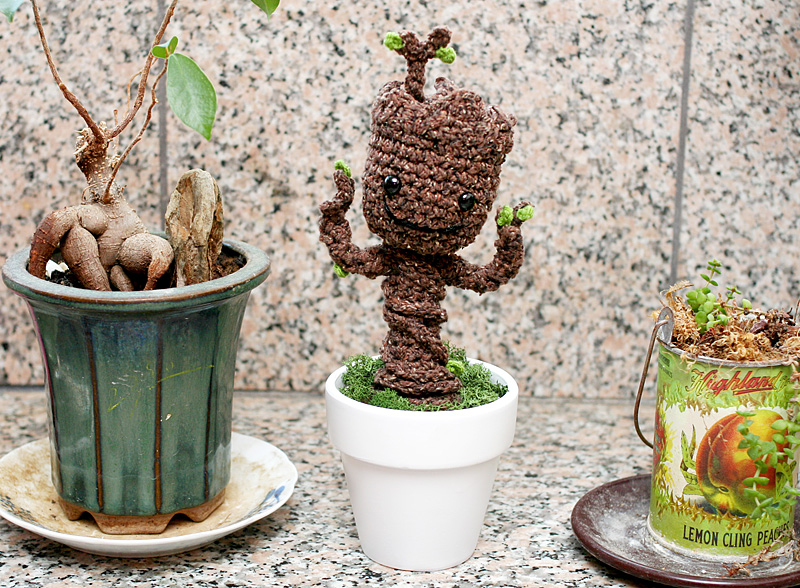
Adorable Crochet Groot pattern from Smartapple Creations (left) and Twinkiechan (right)
Groot Cupcakes by Koalipops on the Myrecipes.com Youtube Channel
(They graciously provided a great Groot stencil we'll use in a minute)
(They graciously provided a great Groot stencil we'll use in a minute)
As Christmas drew closer, I knew I had to start on Baby Groot soon (read: four days before Christmas), so I figured I'd just have to wing it, document the process, and hope it worked out.
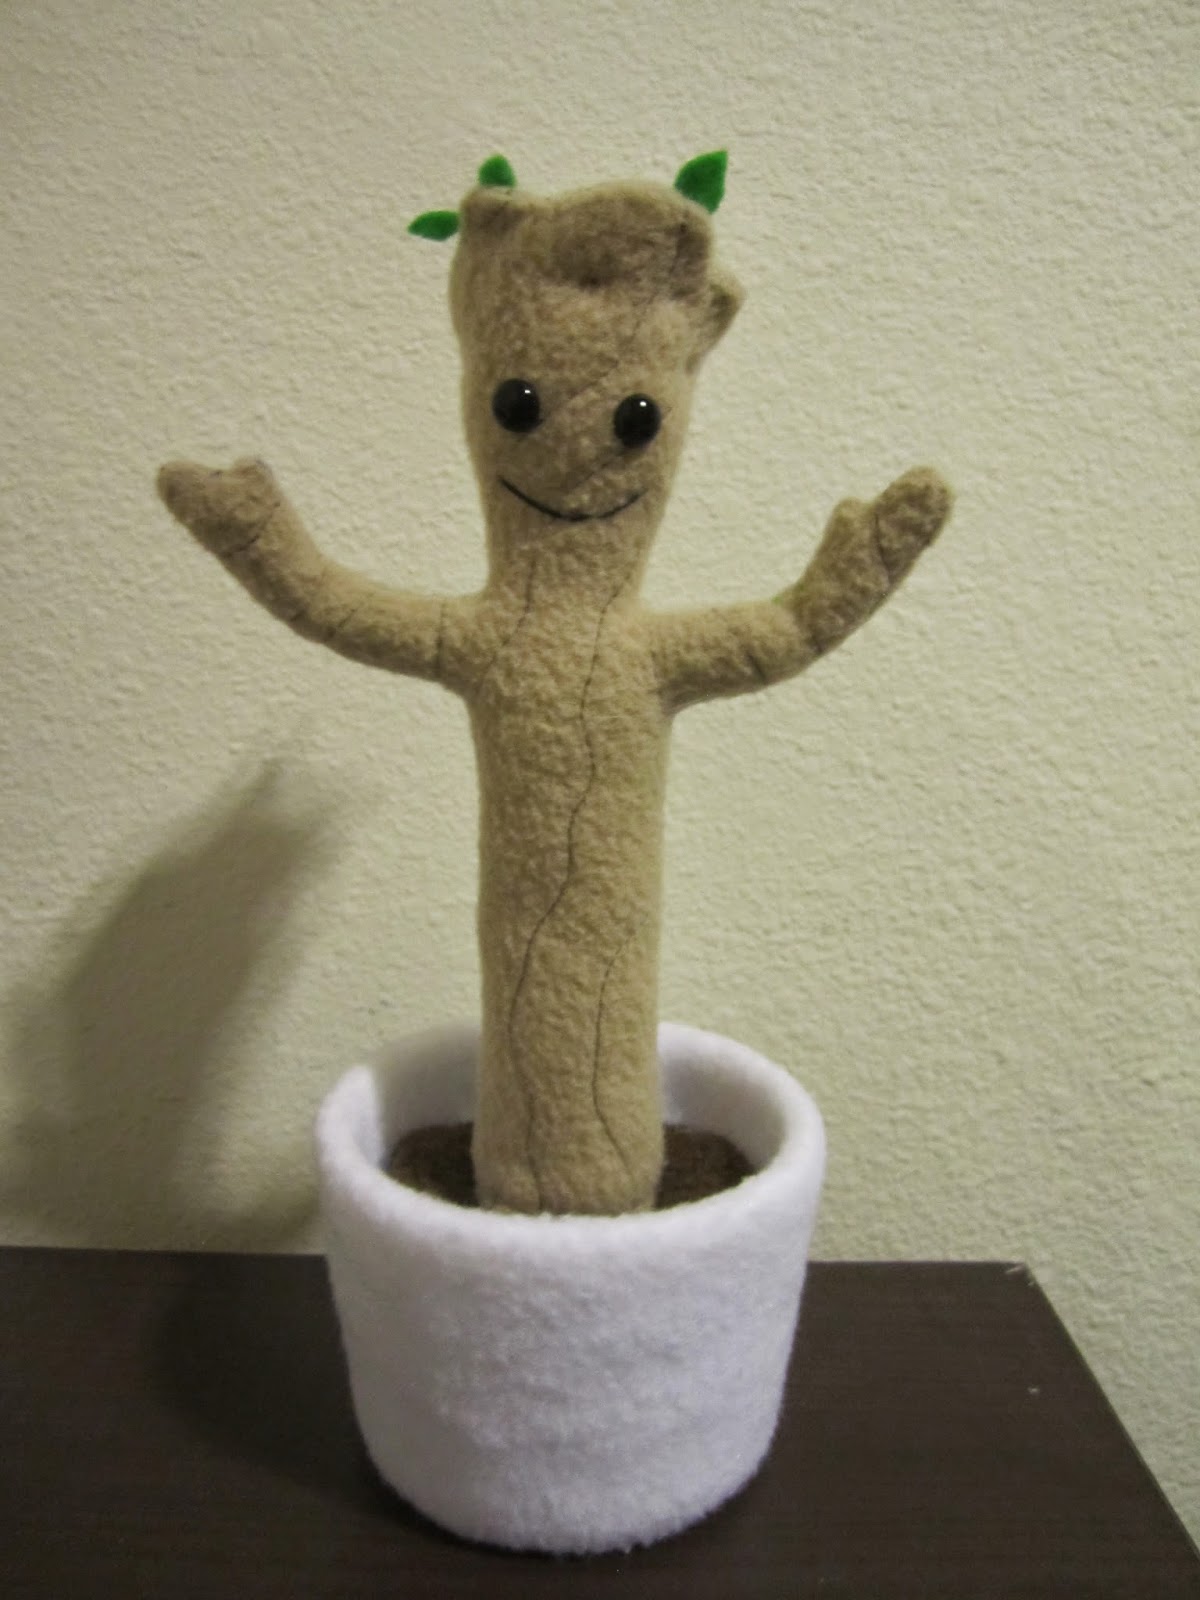
I like to think it worked out surprisingly well.
Don't you just want to cuddle him?
So, to make a plushie Groot of your very own, you will need the following items:
About 1/3 yd of tan fleece
Dark brown fleece or felt for 'dirt' in flowerpot
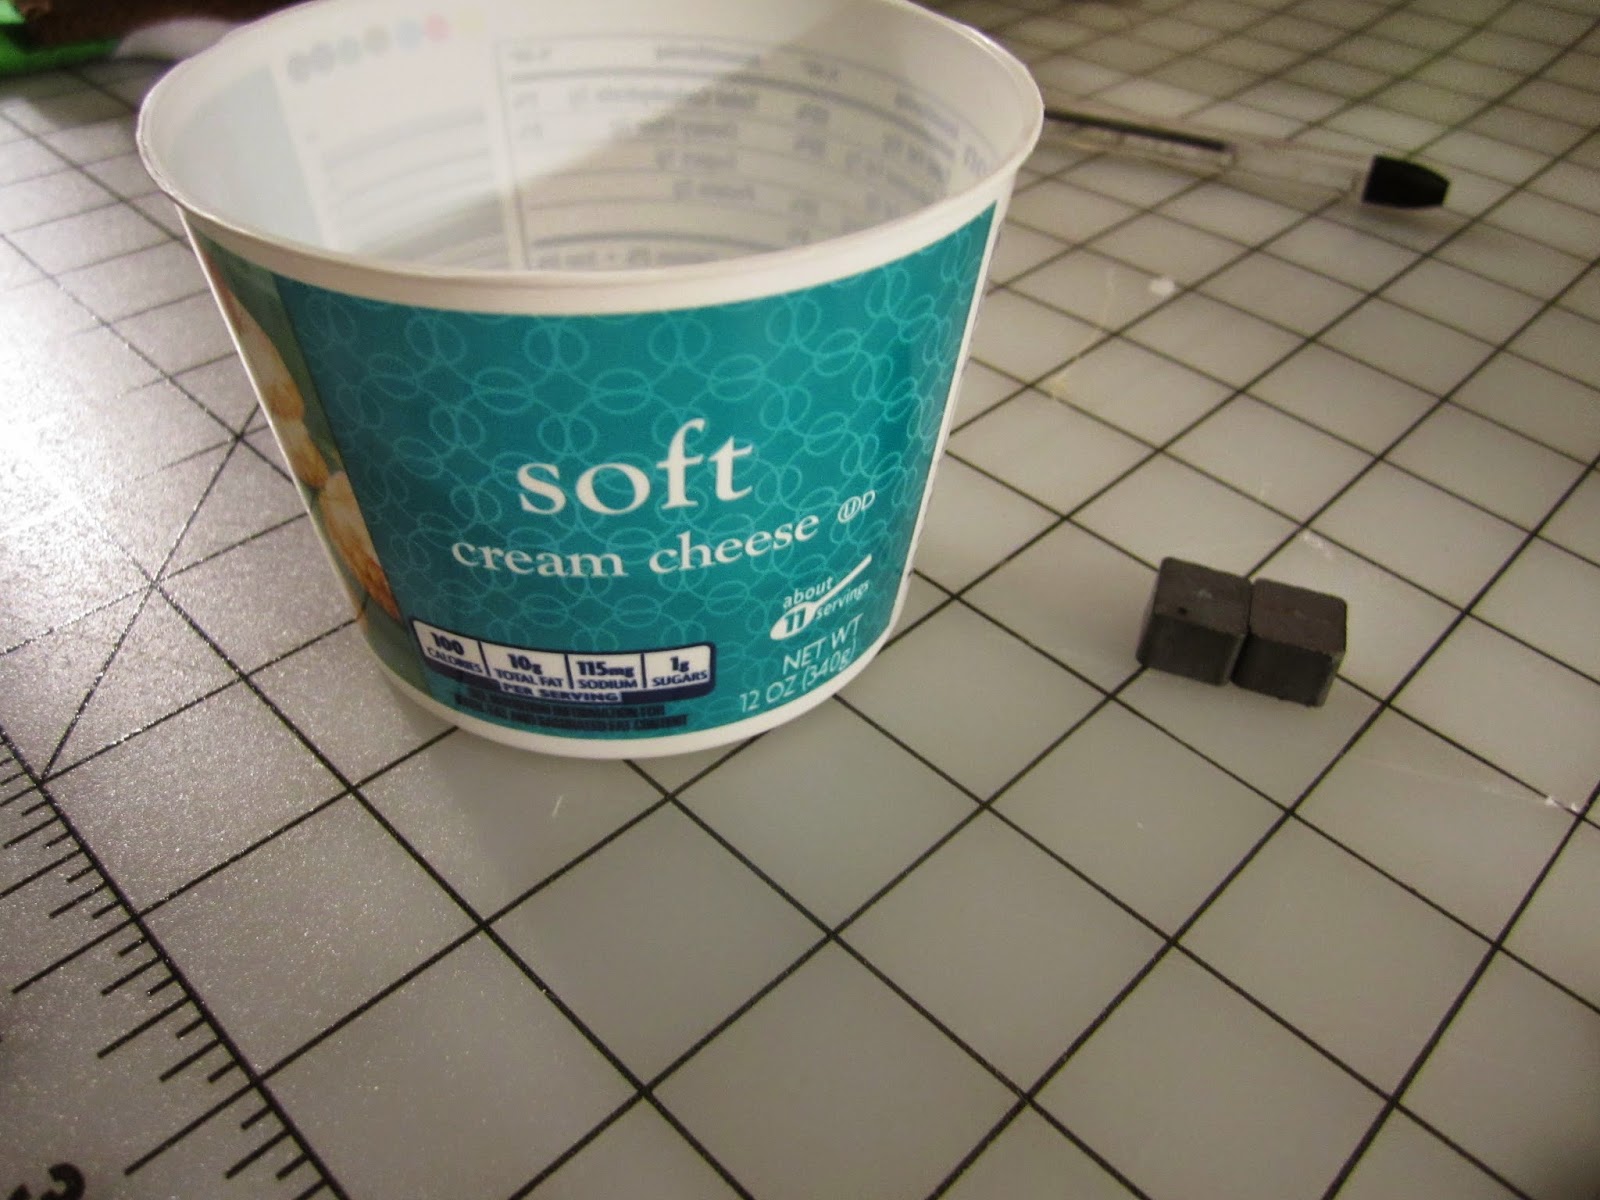
Magnets (I broke mine out of two Dollar Store magnets)
Material to use for flowerpot (I used a cream cheese container)
White felt or fleece for outside of flowerpot
Green felt for leaves
Decorative Aluminum Wire (Mine was 12 gauge)
Wire cutters
Scissors
Hot Glue

Material to use for flowerpot (I used a cream cheese container)
White felt or fleece for outside of flowerpot
Green felt for leaves
Decorative Aluminum Wire (Mine was 12 gauge)
Wire cutters
Scissors
Hot Glue
First, I wanted to imitate the look of an actual tree, and since there are no easy instructions for how to get fabric to look like bark, I sewed over my fleece at an angle and just turned the fabric back and forth at random to create wavy lines. I tried both matching and contrasting thread, and thought the dark brown thread looked the best. In the movie, he has green lines as well as brown, so feel free to experiment with colors on your own!
Once the fabric was cut and ready, I cut out the stencil from the Koalipops, adjusting it slightly to make the arms longer and to exaggerate some of his head grooves, then traced it out onto the fleece.
Since I knew I was not talented or lucky enough to have drawn the arms the same length, I cut out half of Groot, then folded him over and retraced the arm so it would match.
Once I cut out one side, I traced it out on another piece and stitched up the sides, leaving the top and bottom open.

In order to make Groot three dimensional, I added a section between the open halves of the top. So that it would dip down, I sewed two scraps together in a wide 'U' shape, and then tucked it between the two top pieces and sewed along the edges of the bumps and grooves. You can also trace the edge first, and cut second, but I found cutting after a bit easier.


Once the top was attached, I turned him inside out, using a pen to push out the arms and the smaller bits of the head bark. I then added safety eyes (found at Joann's near the bells and glitter, for some reason).


For the 'dirt', I traced the top of the container onto some brown fleece I had, added some allowance to it, then cut it out. Before I hot-glued the magnets to the underside of the fabric, I made extra certain that the polarity was not reversed (sorry, I just had to. Other Whovians will understand), and that the magnets were strong enough to hold Groot through two layers of fabric.

I then hot-glued the brown fleece with the magnets underneath to the edges of the flowerpot, and got to put Groot in his little home!


He looks like a gingerbread Groot!
In order to make Groot three dimensional, I added a section between the open halves of the top. So that it would dip down, I sewed two scraps together in a wide 'U' shape, and then tucked it between the two top pieces and sewed along the edges of the bumps and grooves. You can also trace the edge first, and cut second, but I found cutting after a bit easier.
Once the top was attached, I turned him inside out, using a pen to push out the arms and the smaller bits of the head bark. I then added safety eyes (found at Joann's near the bells and glitter, for some reason).
This is the part where a normal person would sew on the smile, but... I forgot and had to sew it on when he was mostly done, which was interesting (read: difficult). So if you're making your own Groot, sew his smile on now.
In order to make him posable, I looked up several tutorials that suggested making a rough wire armature. I had some decorative wire left over from my steampunk Tinkerbell wings, so I used that. I cut one piece of wire slightly longer than both arms across, and bent the tips so that the ends wouldn't poke out of the fabric. Afterwards, I bent a long wire in half and twisted it for the main support, and then wrapped the leftover wires in between the arm wire and the body wire to keep the arms where I wanted them.
After partially stuffing the head and arms, I moved the arm wires up (as if he was doing the 'Y' in the YMCA dance), and settled the armature inside. I filled out all but the last two inches or so of Groot's body with polyfill stuffing, leaving room for some heavier elements so he can stand up on his own.
The first stabilizing element I added was a small packet of rice, which I made with the leftover scraps of the tan fabric, but you can really make it with any kind of fabric.
I untwisted the lower part of the wire to make room for the rice, then added a few washers I scavenged from our garage to have a metal base for the magnets to attach to. You could also insert a magnet into the base, if you want to.
After adding the rice packet and washers, I twisted the wires around to keep the washers in and to make a flat surface so Groot can stand on his own.
After making sure he could stay upright, I added some scraps to fill out the rest of the base, then sewed on a circle to complete the body.
Now that Groot himself is done, let's tackle his flowerpot!
I looked around my grocery store for containers about the right size and settled on the cream cheese tub (plus, we had an excuse to make cream cheese dip!). After washing it, I traced it out on felt to make a pattern piece for the bottom and a curved piece to go around the sides. I left several inches extra on top so they could go over and down into the flowerpot.
I cut out the pieces in white fleece, and then sewed the sides together, and then to the bottom circle. In order to fit it as snugly as possible, I left the fabric inside out and inserted the cream cheese container to see if there were any loose sections, then made adjustments from there.
Once the fleece cover for the flowerpot was done, I broke open the two Dollar Store horseshoe magnets to get the squares of the actual magnets. I used all four magnetic squares, but it depends on what you have in the base of Groot, and what strength and size magnets you have. You can also buy magnets at crafts stores that are bigger than this, if you prefer.
After tucking in all the sides into the flowerpot, I trimmed the fabric to where I wanted it, then hot glued it to the inside. Once that was dry, I added rice until it was about 2/3rds full.
For the finishing touches, I tacked parts of his head to the sides to help it stay down, which also gave him a little bit of puckering on his forehead that I thought was a great effect.

To add a little more detail, I cut out small leaves from green felt and attached them at random to his head. Feel free to put as many as you like!
Now you have your very own dancing baby Groot! I took pictures and giffed them so he can do a dance as well!
Thanks for reading, feel free to as any questions in the comments, and happy geeky crafting!!

Here's for all my pinners!
No comments:
Post a Comment
Note: Only a member of this blog may post a comment.